onz-auth-js
![]()
![]()
OnzAuth Webflow Guide
OnzAuth’s JS SDK Webflow Implementation Guide
 +
+

Introduction
This guide provides a simple example of how one might implement OnzAuth on Webflow with a very simple example of Private and Public Pages.
In this tutorial you’ll be building a simple blank site with a navigation bar using Webflow and OnzAuth auth. Webflow will help us design, build and launch responsive websites visually, while OnzAuth will help us create a secure and reliable passwordless login.
Questions?
Join our Slack Community
OnzAuth Signup
-
Sign up for an OnzAuth account here.
-
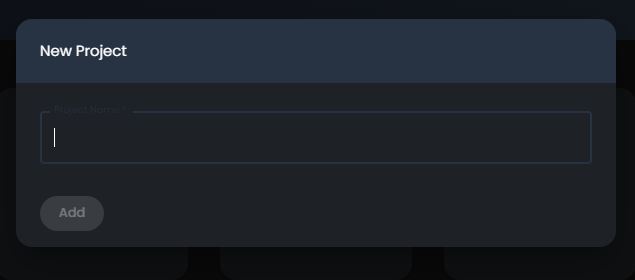
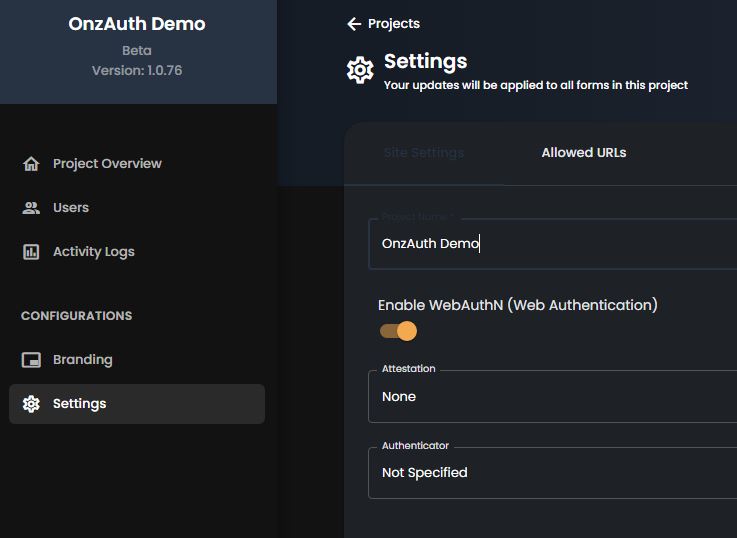
Create a new project and give it a name. Please take note of the ClientID here or your can retrieve it later in the Project Overview Page.
- Optional - Enable WebAuthN for biometric Setup
Webflow Setup
-
Sign up for a Webflow account here
-
Create a
New Site -
Select a
Blank Site -
Name it whatever you want, in this demo I named it
OnzAuth Webflow
You will then be presented with a blank page called Home.

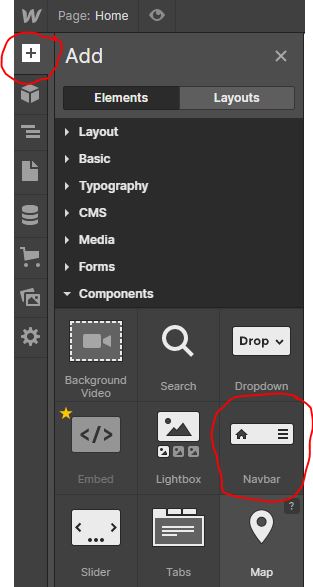
Create a NavBar
- Drag and drop the
NavBarto the Body
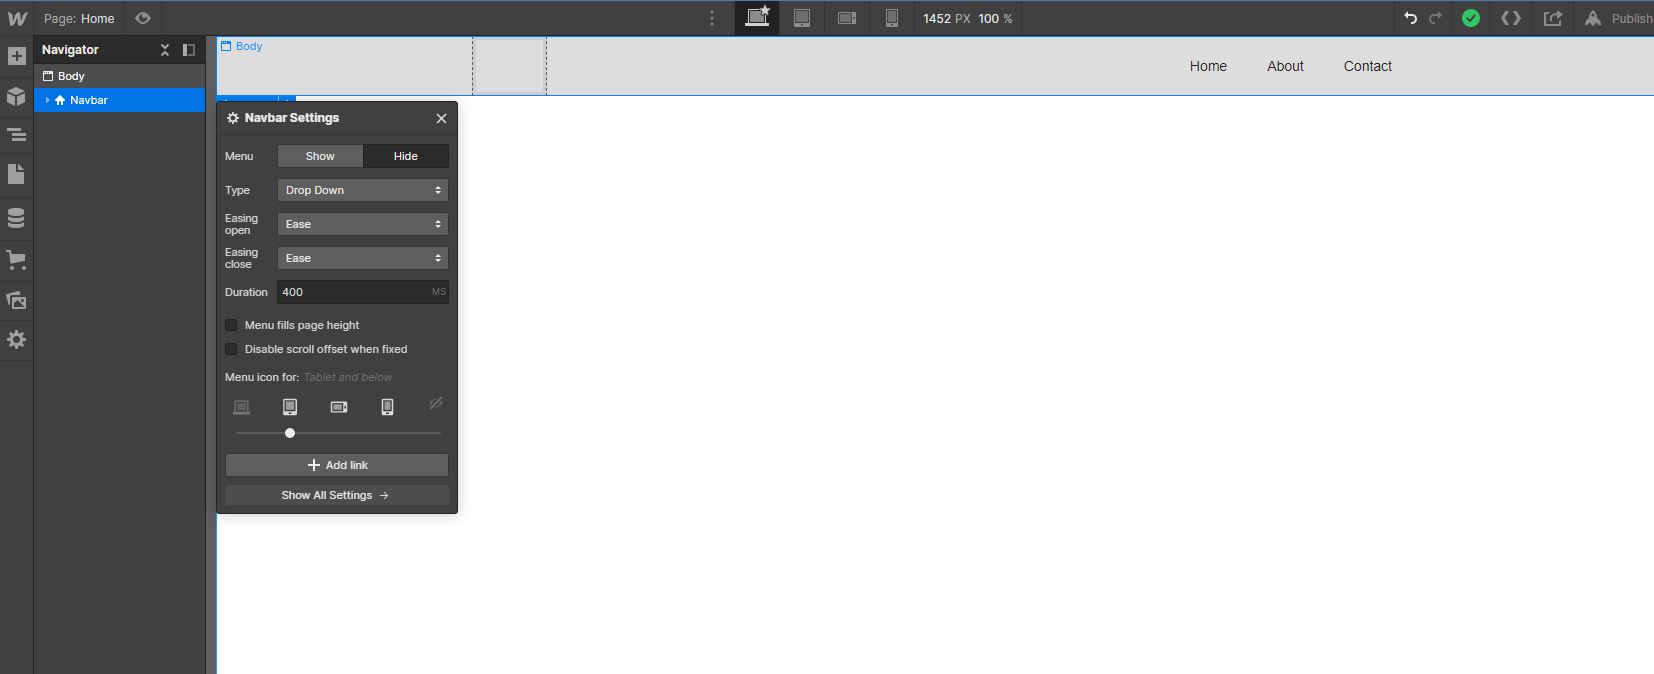
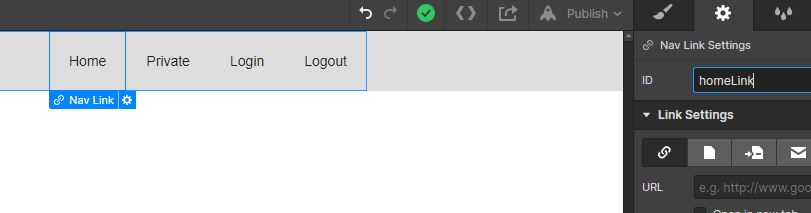
- Modify the links on the
NavBaras follows
- Home - with ID of
homeLink - Private - with ID of
privateLink - Login - with ID of
loginLink - Logout - with ID of
logoutLink(Right click, and duplicate the third item Login to create the last item)
eg. for Home
Feel free to add your logo or styling, does not matter in this guide.
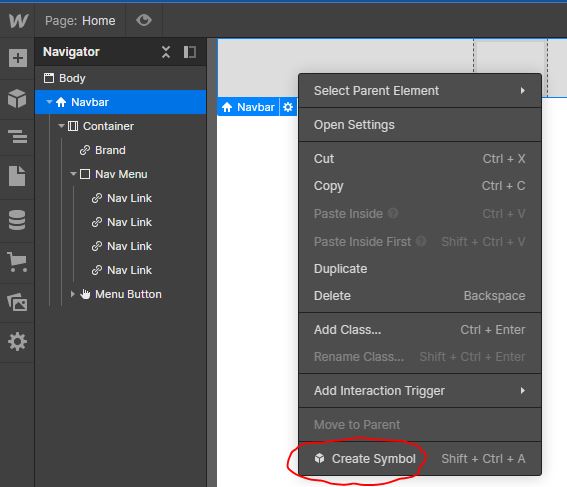
One more thing; you’ll be needing this NavBar in all of your pages, so turn it into a Symbol. This turns the NavBar into a reusable component. Name it whatever you like, I called mine navbar
Create a Loader
The loader is to show the log in progress, in this tutorial, we won’t bother adding logos or animations, feel free to implement your own version, we will only add a text called Loading... in the middle of the loader
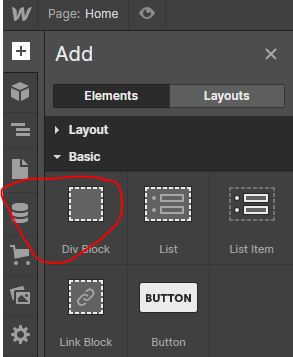
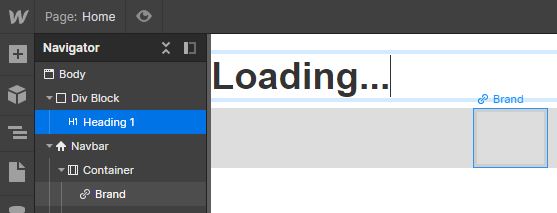
- Drag a
Div Blockonto the page, drag it on top of the navbar, give it a IDloader

- Drag a
Headingonto the div, change the text toLoading
Feel free to add your logo or styling, does not matter in this guide.
One more thing; you’ll be needing this Loader in all of your pages, so turn it into a Symbol. This turns the Loader into a reusable component. Name it whatever you like, I called mine loader
Awesome! We’ll be dropping this Loader Symbol to all of the pages once they’re complete.
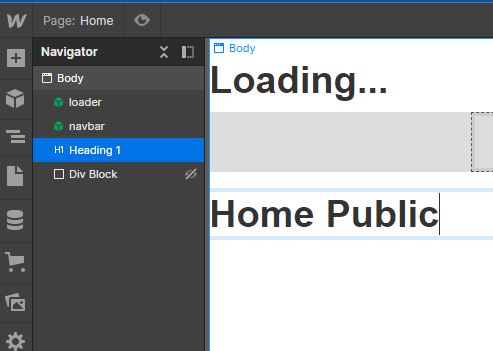
Add Content to Home
- Because
Homeis a public page, we have to add an invisible div to the page. Drag and Drop anotherDiv Blockanywhere on the page, and name the IDmyDiv
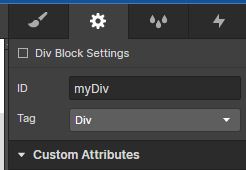
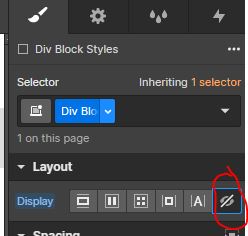
- Set the display to None.
- Drag a new
Headingand change the text toHome Publicso we know we are on the home page
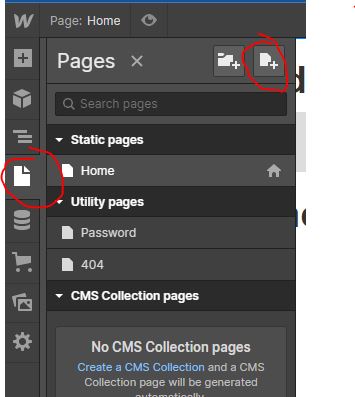
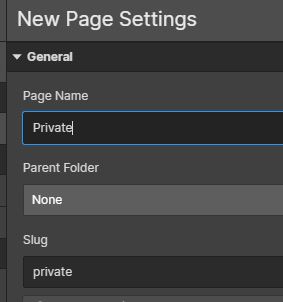
Create a new Private Page
- Create a new Page called
Private
- Drag the
loaderandnavbarsymbols onto the page
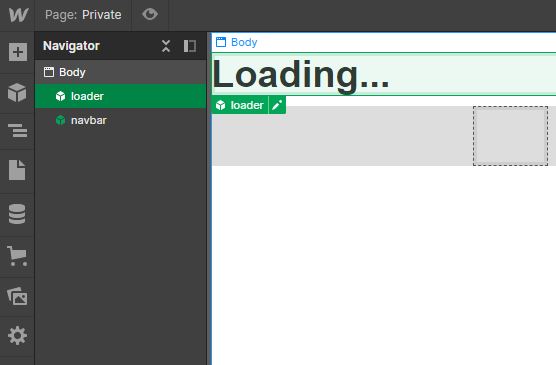
-
Drag a new
Headingand change the text toPrivateso we know we are on the private page -
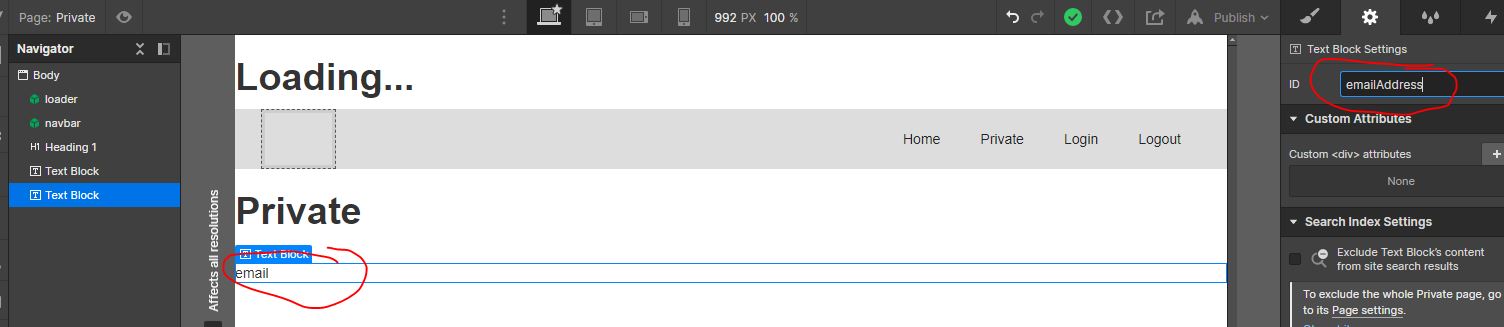
We want to show the logged in user name here, so let’s drag in another
Text Blockonto the page below the heading, change the text toHello -
Drag in another
Text Blockbelow the Hello text, name it anything for now, I put in a placeholder textemail, change the ID toemailAddress
Lastly Update Nav Links
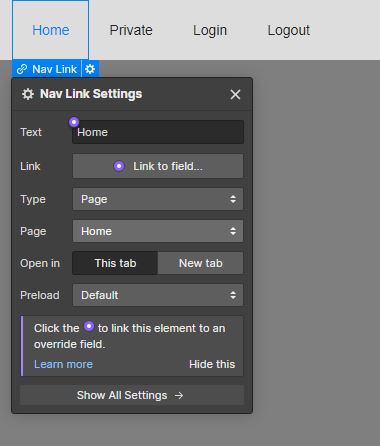
- Double click on
Homeon the Navbar, it should bring up a menu like so
-
Update the
TypetoPageand selectHomeonPage -
Do the same for Private, Update the
TypetoPageand selectPrivateonPage -
We can leave Login and Logout for now as we will be attaching the click event via the code instead.
Write Sitewide Custom Code
-
Click on the
Won the top left corner and go toProject SettingsandCustom Code -
In the
Head Codeadd in the following code to load OnzAuth SDK
<!-- Get OnzAuth SDK -->
<script src="https://unpkg.com/onz-auth@1.0.26/dist/onz-auth-js-sdk.min.js"></script>
<!-- Initialize OnzAuth -->
<script>
// Initialisation
const auth = new onz.Auth({
clientID: 'my-project-xdfsdfdsf', // The Project ID You created Earlier
containerID: 'myDiv', // the invisible div you created earlier
isIframe: false, // Optional, defaults to 'false' so it supports Biometric webauthn login
});
</script>
- in the
Footer Codeadd in the following code
<script>
  // Modify it accordingly, whatever page paths you give it to secure it
  const privatePages = [
    '/private'
  ];

  const publicPages = [
    '/'
  ];

  const refreshState = async () => {
    const currentPath = window.location.pathname;
    const isAuthenticated = auth.isAuthenticated();

    if (isAuthenticated) {
      // If authenticated and in a public page
      if (publicPages.includes(currentPath)) {
        // Go to private page if in public page after logging in
        window.location.replace('/private');
      } else {
        // Hide the login and home link if already in a private page
        loginLink.style.display = 'none';
        homeLink.style.display = 'none';
      }
    } else { // If not authenticated
      if (privatePages.includes(currentPath)) {
        // If in private route, go to home page
        window.location.replace('/');
      } else {
        // Hide private links and logout links
        privateLink.style.display = 'none';
        logoutLink.style.display = 'none';
      }
    }
    // hide the loader
    loader.style.display = 'none';
  };


  auth.on("closed", () => {
    // hide loader
    loader.style.display = 'none';
  });

  auth.on("logged_out", () => {
    // go to home page
    window.location.replace('/');
  });

  auth.on("authenticated", (authResult) => {
      loader.style.display = 'none';
      // go to private page on login
      window.location.replace('/private');
  });

  // Attach click listener to the login link
  loginLink.addEventListener("click", event => {
    // Make loader full screen
    loader.style.display = 'flex';
    loader.style.height = '100vh';
    loader.style.width = '100vw';
    loader.style.justifyContent = 'center';
    loader.style.textAlign = "center";
    // invokes login
    auth.showLogin();
  });

  // Attach click listener to the logout link
  logoutLink.addEventListener("click", event => {
    auth.logout();
  });

</script>
- Save your changes and go back to the
Designerview
Write Page only Custom Code
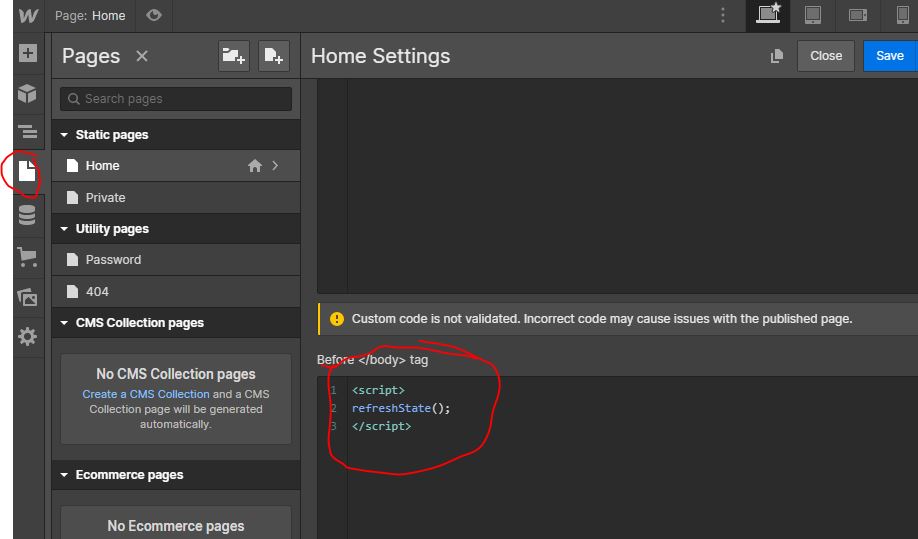
- Select
PagethenHomeand expand the settings, scroll all the way down. Insert the following code, and clickSave
<script>
   refreshState();
</script>
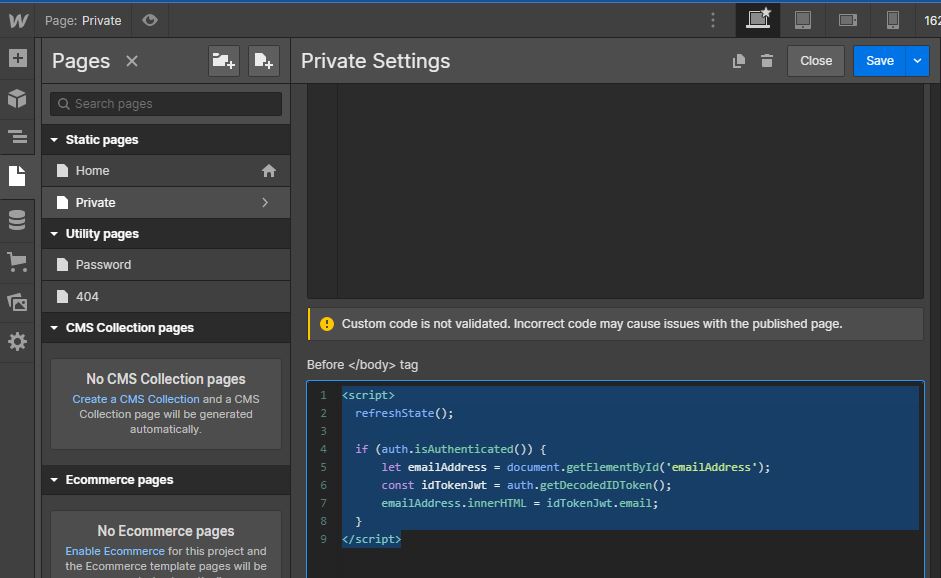
- Select
PagethenPrivateand expand the settings, scroll all the way down. Insert the following code, and clickSave
<script>
  refreshState();

  if (auth.isAuthenticated()) {
  		let emailAddress = document.getElementById('emailAddress');
   		const idTokenJwt = auth.getDecodedIDToken();
    	emailAddress.innerHTML = idTokenJwt.email;
  }
</script>
Test your code
Awesome 🤩! You’ve built a Simple Site with OnzAuth on Webflow. To test the code, you’ll need to publish your site and visit the live url.
That’s it for today!
As you saw, designing a site with Webflow is easy; just drag and drop elements! Integrating the OnzAuth Login Form into your site is even easier.